HTML Layout Techniques for beginners | Lesson 3
The mastery of HTML Layout Techniques is significant in any web development process to make attractive and organized web page. For the beginner out there, these technique are going to offer a good starting point on how to create well structured web page.
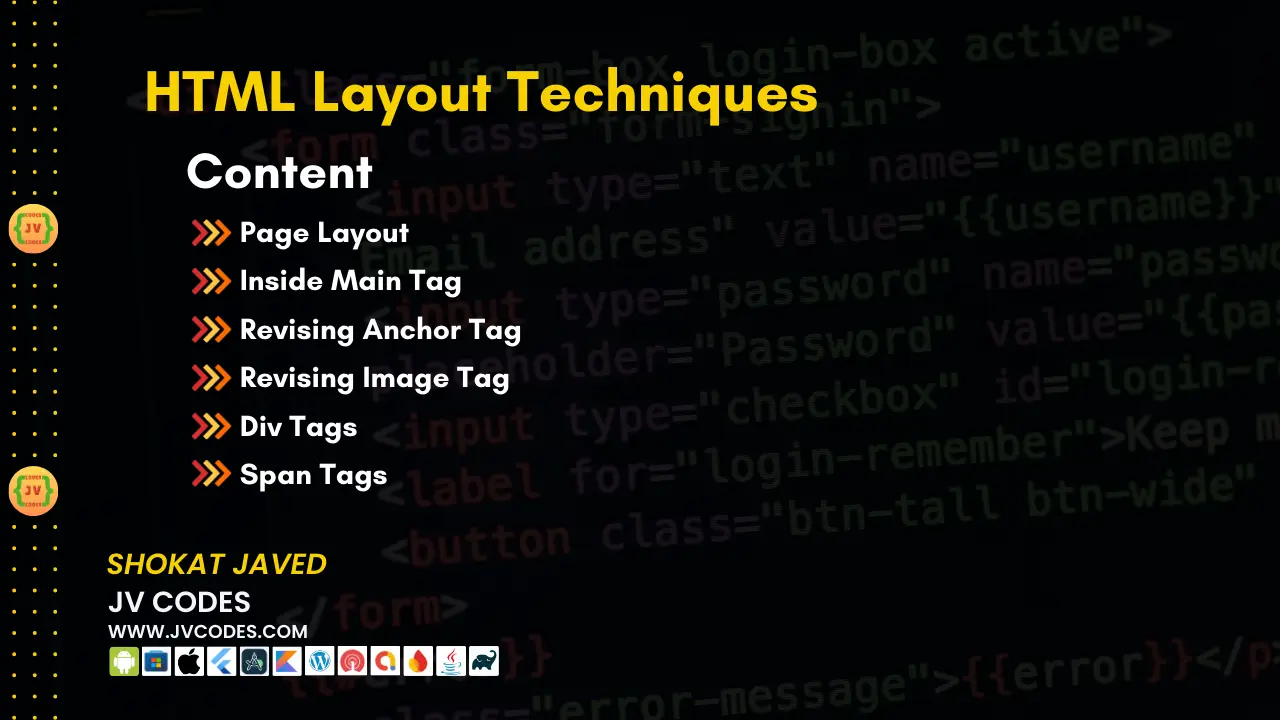
This blog post will introduce you to the idea of HTML layout techniques, elements and tags: semantic and non-semantic tags, placing the content within the main container and working with anchor, image, div and span tags.
What are HTML Layout Techniques?
HTML Layout Techniques or site layout is the organization of page elements supported by the Document Type Definition (DTD) and the arrangement of frames within a website with tags and elements.
HTML layout refers to the design and arrangement of content of a website with the use of HTML features. These techniques assist in development of an easy structure which leads to better user experience.
With such tags and elements, you make the layout flexible and useful for immediate headings, footers, navigation menus, primary body areas and others.
Standard HTML Page Layout
What are the main sections or parts of a website? ne of the fundamental concepts in HTML layout is the page structure, which typically consists of three main sections::
- Header
- Main
- Footer
Header
The header section is the primary section of a webpage most frequently placed on the upper part of the webpage and includes a webpage logo, the webpage navigation bar and all the initial information. This means that it gives a constant and easily identifiable portion on all of the employed website’s page.
<header>
    <h1>Welcome To JV Codes</h1>
    <nav>
        <ul>
            <li><a href="#home">Home</a></li>
            <li><a href="#about">About</a></li>
            <li><a href="#contact">Contact</a></li>
        </ul>
    </nav>
</header>
Main
This is where the primary content of the page is placed and it is usually sandwiched in between two margins. It is often where articles, sections and other principal contents may be found. The main tag also helps the search engine to quickly locate the relevant content of the page.
<main>
    <section>
        <h2>Welcome to My HTML Course</h2>
        <p>This is the main content area where you can find articles, news, and more.</p>
    </section>
</main>
Footer
This is a container that is normally placed at the bottom of the page and it displays information such as the copyright, privacy policy, and the link to the terms of use.
<footer>
<p>© 2024 My Website. All rights reserved.</p>
<nav>
<ul>
<li><a href="#privacy">Privacy Policy</a></li>
<li><a href="#terms">Terms of Service</a></li>
</ul>
</nav>
</footer>Semantic and Non-Semantic Tags
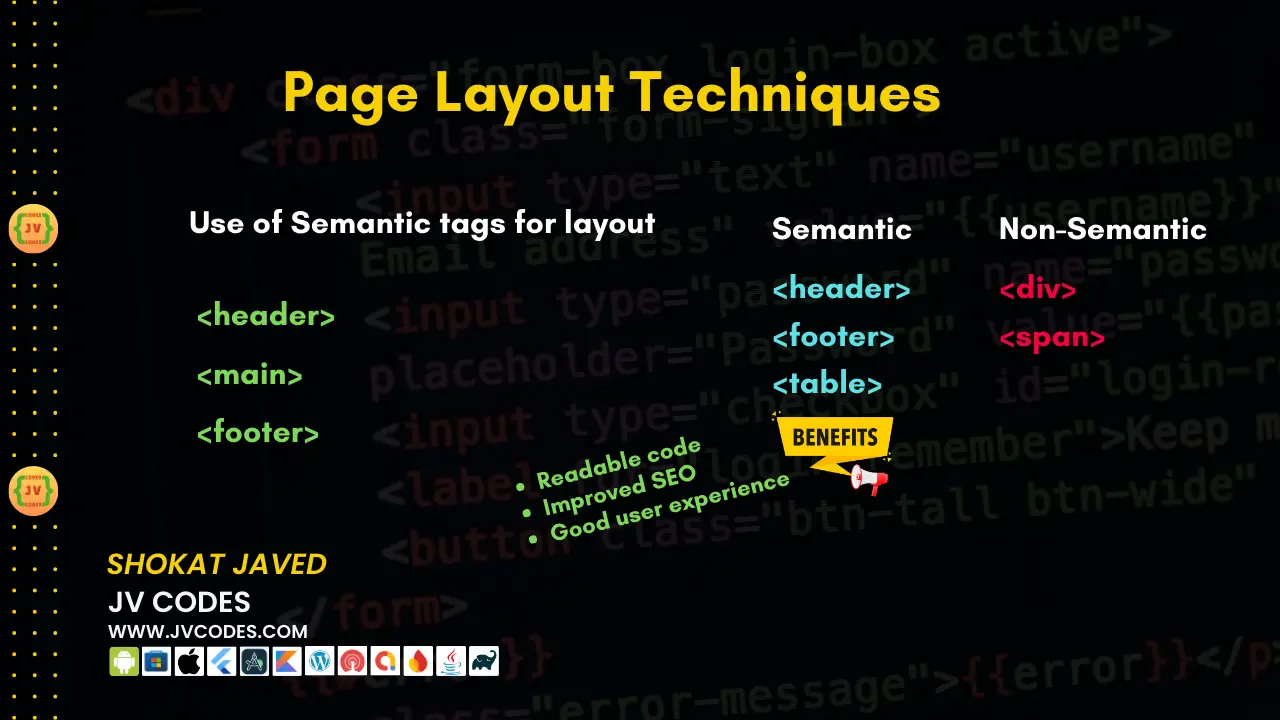
HTML tags can be divided into two categories: a semantic and non semantic ones. It is important to clarify the differences between them to be able to design logical and effective structure of web page.
Semantic Tags
Semantic tags are self-explanatory convey their meaning in an easily intelligible form to both humans and machines. These tags are useful for arranging the content of the page and give value to SEO and accessibility.
Examples of semantic tags
- <header>: Represents the header of a document or section.
- <nav>: Defines a navigation section.
- <article>: Represents an independent piece of content.
- <section>: Groups related content.
- <footer>: Represents the footer of a document or section.
<article>
    <h2>HTML Layout Techniques</h2>
    <p>This article explains various HTML layout techniques for beginners.</p>
</article>
Non-Semantic Tags
In this case, non-semantic tags do not convey any information about what kind of data is being described.
Examples of non-semantic tags
- <div>: A block-level container.
- <span>: An inline container.
<div>
    <span>This is a non-semantic span inside a div.</span>
</div>
Inside Main Tag
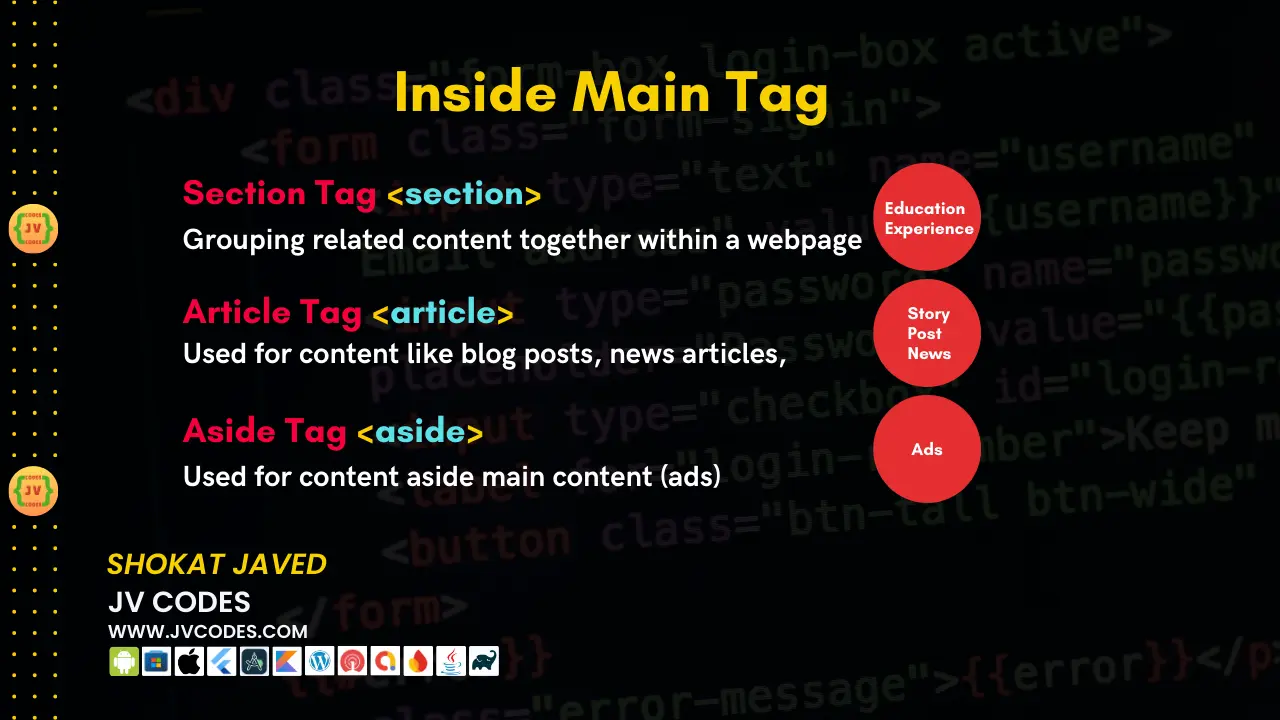
Semantic tags, which can be used within the main content area, will help to structure content properly.
Section Tag
The section tag is used to define a section on the page, or any number of sections for a page, and is often used in the context of parts of an article or even parts of a page.
<section>
    <h2>Introduction to HTML</h2>
    <p>HTML is the standard markup language for creating web pages.</p>
</section>
Article Tag
The article tag represents an independent component of the site content that may exist on the site as a separate item, for example, blog entry, news, Forum topics or any other articles.
<article>
    <h3>Understanding HTML Tags</h3>
    <p>HTML tags are the building blocks of web pages.</p>
</article>
Aside Tag
The aside tag is used in cases when the content is relevant to the main content of a web page and it is not critical and does not have to be displayed right next to the main content; such as a sidebar, advertisements or links to related pages.
<aside>
    <h4>Related Articles</h4>
    <ul>
        <li><a href="#article1">Understanding CSS</a></li>
        <li><a href="#article2">Getting Started with JavaScript</a></li>
    </ul>
</aside>
Anchor Tag
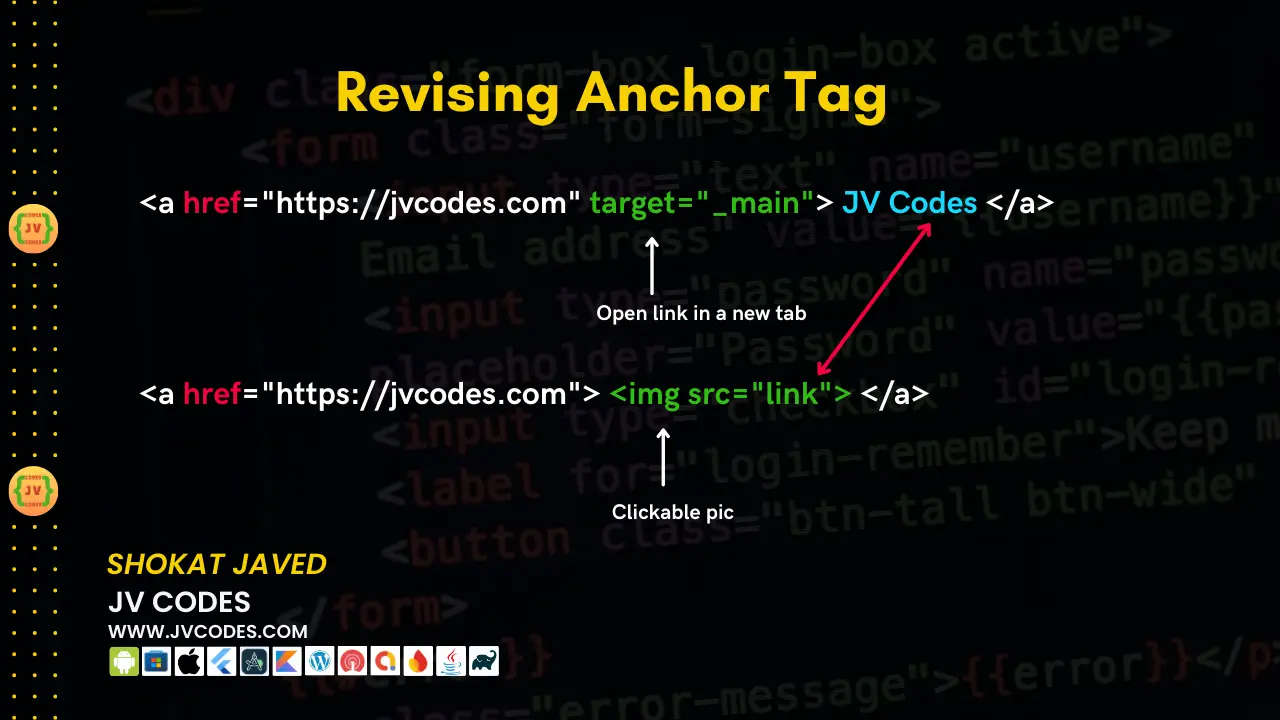
The anchor tag <a> is used to create hyperlinks, which are clickable links that direct users to other pages, sections, or external websites. There are two types of hyperlinks, text hyperlinks and image hyperlinks. Check in example.
<a href="https://www.example.com">Visit Example Website</a>

<a href="https://www.example.com">
    <img src="image.jpg" alt="Example Image">
</a>
Attributes:
- href: Specifies the URL of the page the link goes to.
- target: Specifies where to open the linked document (e.g., _blank for a new tab).
- title: Provides additional information about the link.
- src: Specifies the path to the image.
- alt: Provides alternative text for the image, improving accessibility.
Image Tag
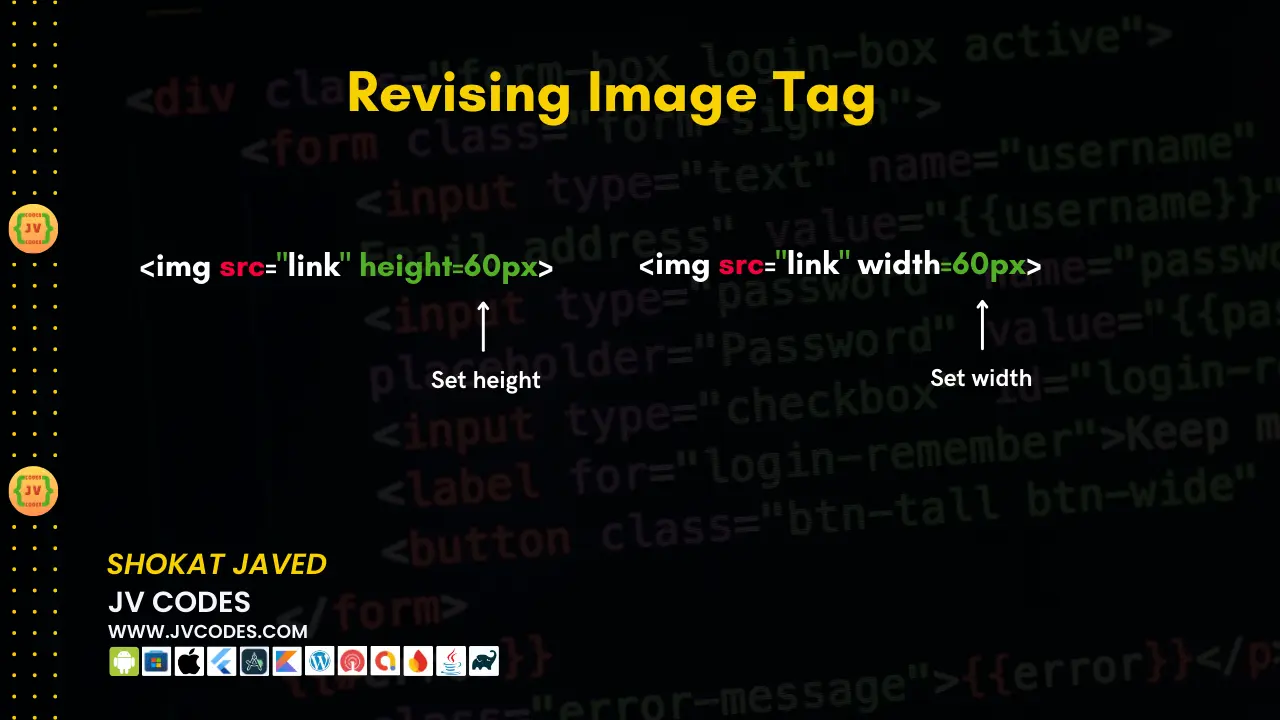
The image tag (<img>) is used to display images in a web page. Images play a crucial role in enhancing the visual appeal of any website.
<img src="logo.png" alt="Website Logo" width="200" height="100">Attributes:
- src: Specifies the path to the image file.
- alt: Provides alternative text for the image.
- width and height: Define the dimensions of the image.
Div Tag
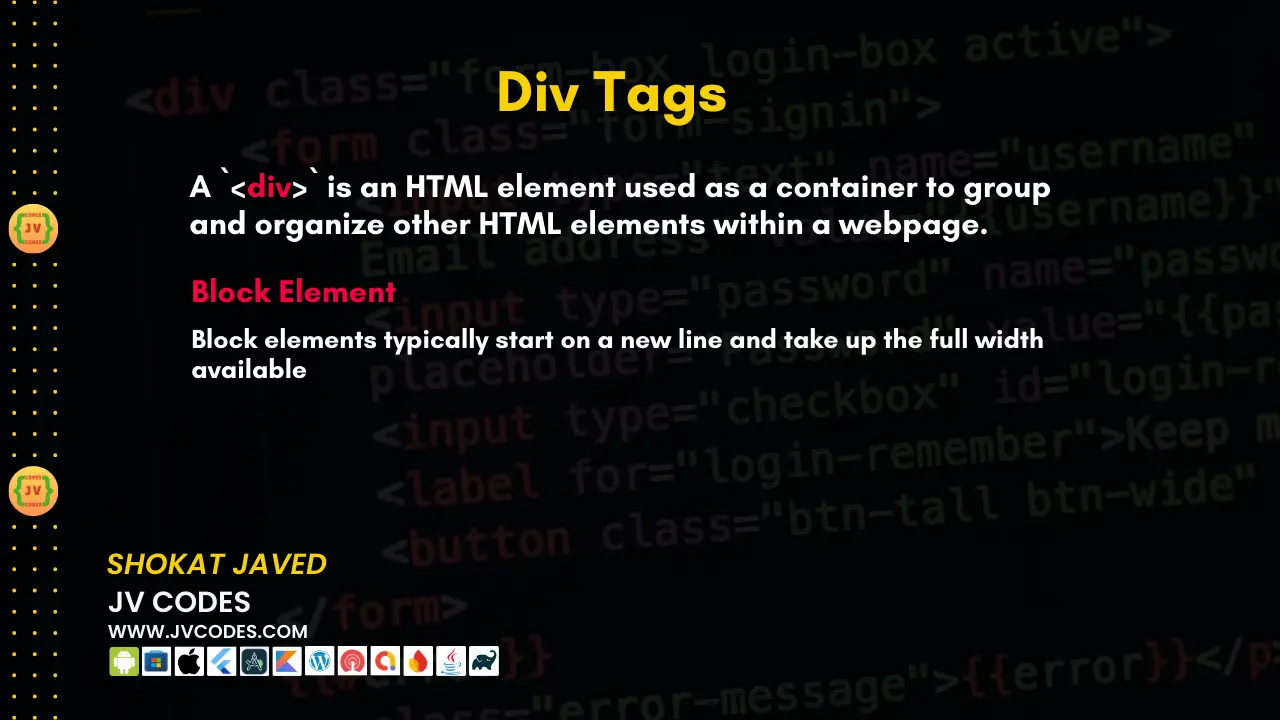
Div stands for division. The <div> tag is a block-level element that serves as a container for grouping other HTML elements. It is commonly used for group styling purposes and group layout control.
<!-- Div Tag -->
<div style="background-color: lightgreen; padding: 10px; margin-bottom: 10px;">
    <h2>Mango</h2>
    <ul>
        <li>Sweet and juicy</li>
        <li>Rich in vitamins A and C</li>
        <li>Often called the "king of fruits"</li>
        <li>Varieties include Alphonso, Haden, and Ataulfo</li>
    </ul>
</div>

<!-- Apple Section with Pink Background -->
<div style="background-color: pink; padding: 10px;">
    <h2>Apple</h2>
    <ul>
        <li>Crisp and refreshing</li>
        <li>Rich in fiber and antioxidants</li>
        <li>Comes in many varieties like Granny Smith, Fuji, and Gala</li>
        <li>Often eaten raw, in salads, or used in cooking and baking</li>
    </ul>
</div>
Block Elements
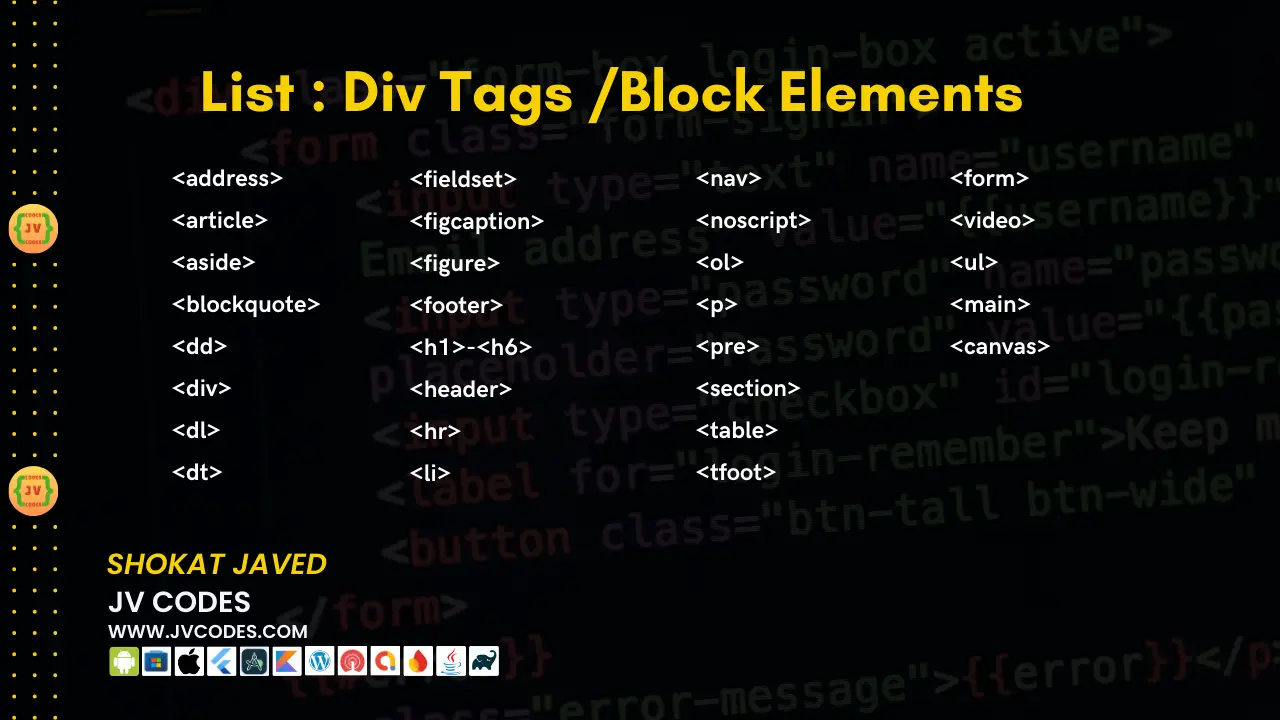
Block elements take up the full width of page available and start on a new line. They are often used to structure the layout of a page.
Common Block Elements:
- <div>
- <p> (Paragraph)
- <h1> to <h6> (Headings)
- <ul> and <ol> (Unordered and Ordered Lists)
- <table> (Table)
Span Tag
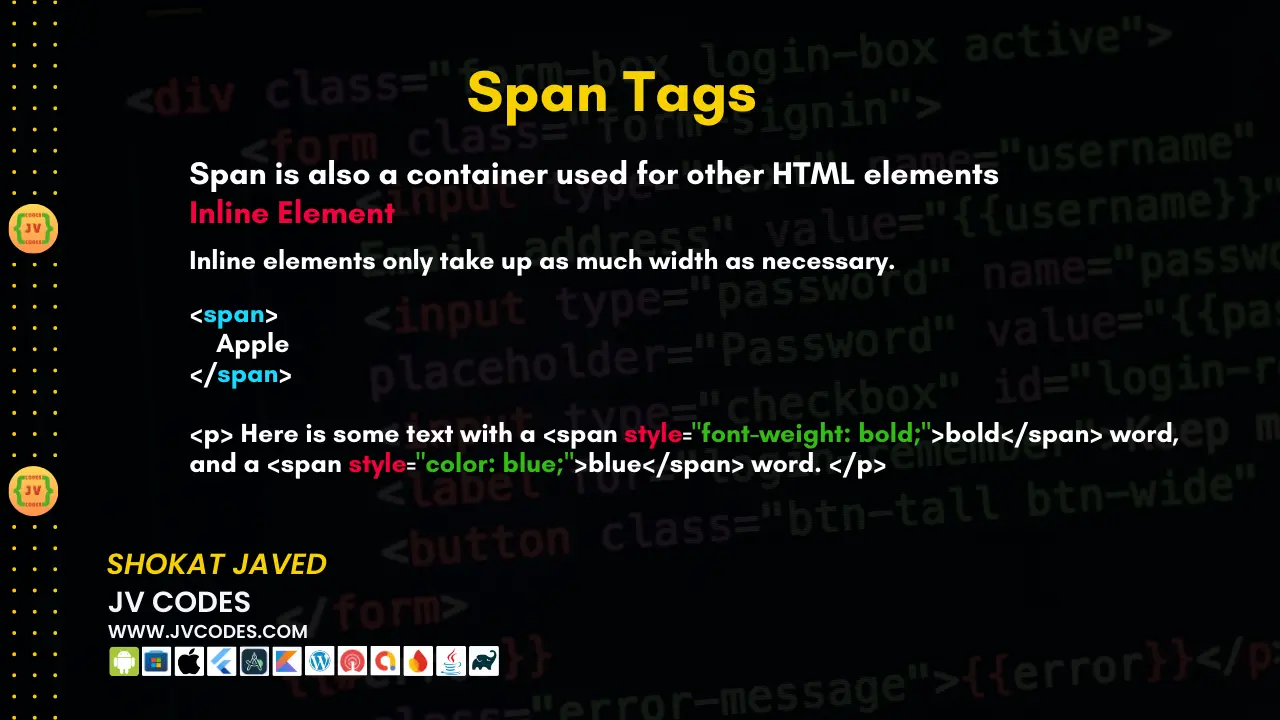
The <span> tag is an inline element used to apply styles or manipulate small portions of text without disrupting the flow of the content.
<!-- Span Tag -->

<!-- Mango -->
    <div>
        <h2><span style="color: orange;">Mango</span></h2>
        <ul>
            <li><span style="font-weight: bold;">Sweet and juicy</span></li>
            <li>Rich in vitamins <span style="color: green;">A and C</span></li>
            <li>Often called the "<span style="font-style: italic;">king of fruits</span>"</li>
            <li>Varieties include <span style="text-decoration: underline;">Alphonso</span>, Haden, and Ataulfo</li>
        </ul>
    </div>

    <!-- Apple-->
    <div>
        <h2><span style="color: red;">Apple</span></h2>
        <ul>
            <li><span style="font-weight: bold;">Crisp and refreshing</span></li>
            <li>Rich in <span style="color: green;">fiber and antioxidants</span></li>
            <li>Comes in many varieties like <span style="text-decoration: underline;">Granny Smith</span>, Fuji, and Gala</li>
            <li>Often eaten raw, in salads, or used in <span style="font-style: italic;">cooking and baking</span></li>
        </ul>
    </div>
</div>
Inline Elements
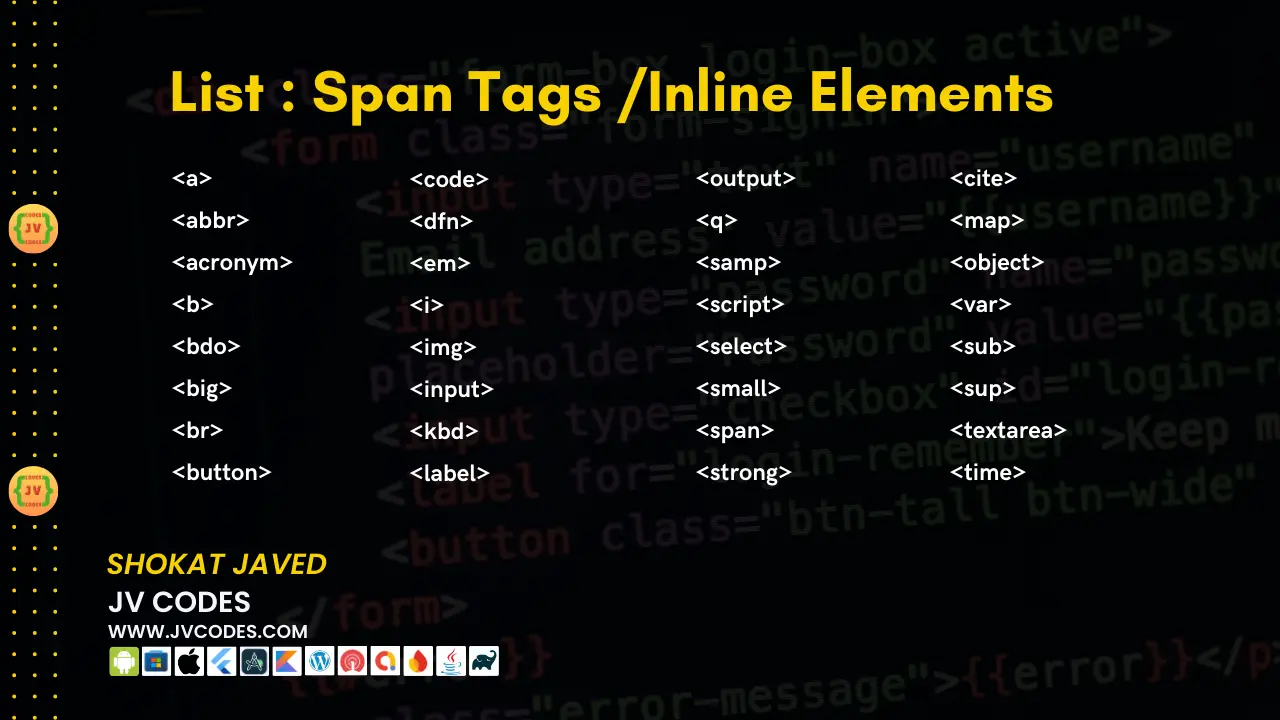
Inline elements do not start on a new line and only take up as much width as necessary.
Common Inline Elements:
- <span>
- <a> (Anchor)
- <strong> (Bold text)
- <i> (Italicized text)
- <img> (Image)
Project Code
<!DOCTYPE html>
<html lang="en">
<head>
<meta charset="UTF-8">
<meta name="viewport" content="width=device-width, initial-scale=1.0">
<title>Shokat Javed's Resume</title>
<style>
body {
font-family: Arial, sans-serif;
margin: 0;
padding: 0;
background-color: #f4f4f4;
}
header {
background-color: #8d6801;
color: white;
padding: 20px;
text-align: center;
}
main {
padding: 20px;
background-color: white;
max-width: 800px;
margin: 20px auto;
box-shadow: 0 0 10px rgba(0, 0, 0, 0.1);
}
h1, h2 {
color: #333;
}
footer {
background: linear-gradient(135deg, #393f39, #2e7d32);
color: white;
padding: 20px;
text-align: center;
font-size: 14px;
position: relative;
}
.footer-content {
display: flex;
flex-direction: column;
align-items: center;
}
.footer-content p {
margin: 10px 0;
}
.social-icons {
margin-top: 10px;
}
.social-icons a {
margin: 0 10px;
color: white;
text-decoration: none;
font-size: 20px;
}
.social-icons a:hover {
color: #ffeb3b;
}
</style>
</head>
<body>
<!-- Header Section -->
<header>
<h1 style="color: #f4f4f4;">Shokat Javed's Resume</h1>
<p>Welcome to my professional resume page</p>
</header>
<!-- Main Content Section -->
<main>
<!-- Summary Section -->
<section>
<h2>Summary</h2>
<p>I am Shokat Javed, a coding expert with a strong background in software development. I have developed jvcodes.com to help beginners learn coding. Skilled in various programming languages and frameworks, with a proven track record of building efficient and scalable web applications.</p>
</section>
<!-- Work Experience Section -->
<section>
<h2>Work Experience</h2>
<p><strong>Position:</strong> Founder & Developer</p>
<p><strong>Company:</strong> JV Codes</p>
<p><strong>Duration:</strong> 2020 - Present</p>
<p><strong>Responsibilities:</strong></p>
<ul>
<li>Developed and maintained the website jvcodes.com.</li>
<li>Created educational content and tutorials for aspiring coders.</li>
<li>Implemented modern web technologies to ensure high performance and responsiveness.</li>
<li>Collaborated with a team of developers to expand the website’s features.</li>
</ul>
</section>
<!-- Education Section -->
<section>
<h2>Education</h2>
<p><strong>Degree:</strong> Bachelor of Science in Computer Science</p>
<p><strong>Institution:</strong> University of Engineering and Technology</p>
<p><strong>Graduation Year:</strong> 2020</p>
</section>
<!-- Skills Section -->
<section>
<h2>Skills</h2>
<ul>
<li>Proficient in HTML, CSS, JavaScript, and Python</li>
<li>Experience with web frameworks like Django and React</li>
<li>Strong understanding of database management systems</li>
<li>Excellent problem-solving and debugging skills</li>
</ul>
</section>
<!-- Certifications Section -->
<section>
<h2>Certifications</h2>
<ul>
<li>Certified Python Developer</li>
<li>Full Stack Web Developer Certification</li>
<li>Advanced JavaScript Programming</li>
</ul>
</section>
</main>
<!-- Footer Section -->
<footer>
<div class="footer-content">
<p>Contact me at: shokat@example.com</p>
<p>Connect with me:</p>
<div class="social-icons">
<a href="https://linkedin.com/in/shokatjaved" target="_blank">👥 LinkedIn</a>
<a href="https://github.com/shokatjaved" target="_blank">💻 GitHub</a>
<a href="https://twitter.com/shokatjaved" target="_blank">🐦 Twitter</a>
</div>
</div>
</footer>
</body>
</html>Source Codes Downloads
For the sake of simplicity, all the example codes that are discussed in this article can be downloaded free of charge. You can download the source codes of all steps explained in this tutorial by clicking on the button below.
Key Notes Lesson 3
We have also made detailed notes and handouts for lesson 3 in order to make the presentation as complete as it is possible.
Conclusion
HTML layout techniques are significant and important in arrangement of good layout for nice looking Web page. Semantic tags such as <header>, <main>, and <footer> help you establish a clear structure of a page. Some of the non-semantic tag which can be used for the styling purpose.
As you master these techniques, you will be able to develop complex layouts, and come up with beautifully designed web pages that are not only efficient, but also easy to navigate.
Got a question about Lecture 3? Drop it in the comments below! Your feedback is invaluable, so let us know what you think—I’d love to hear from you!

