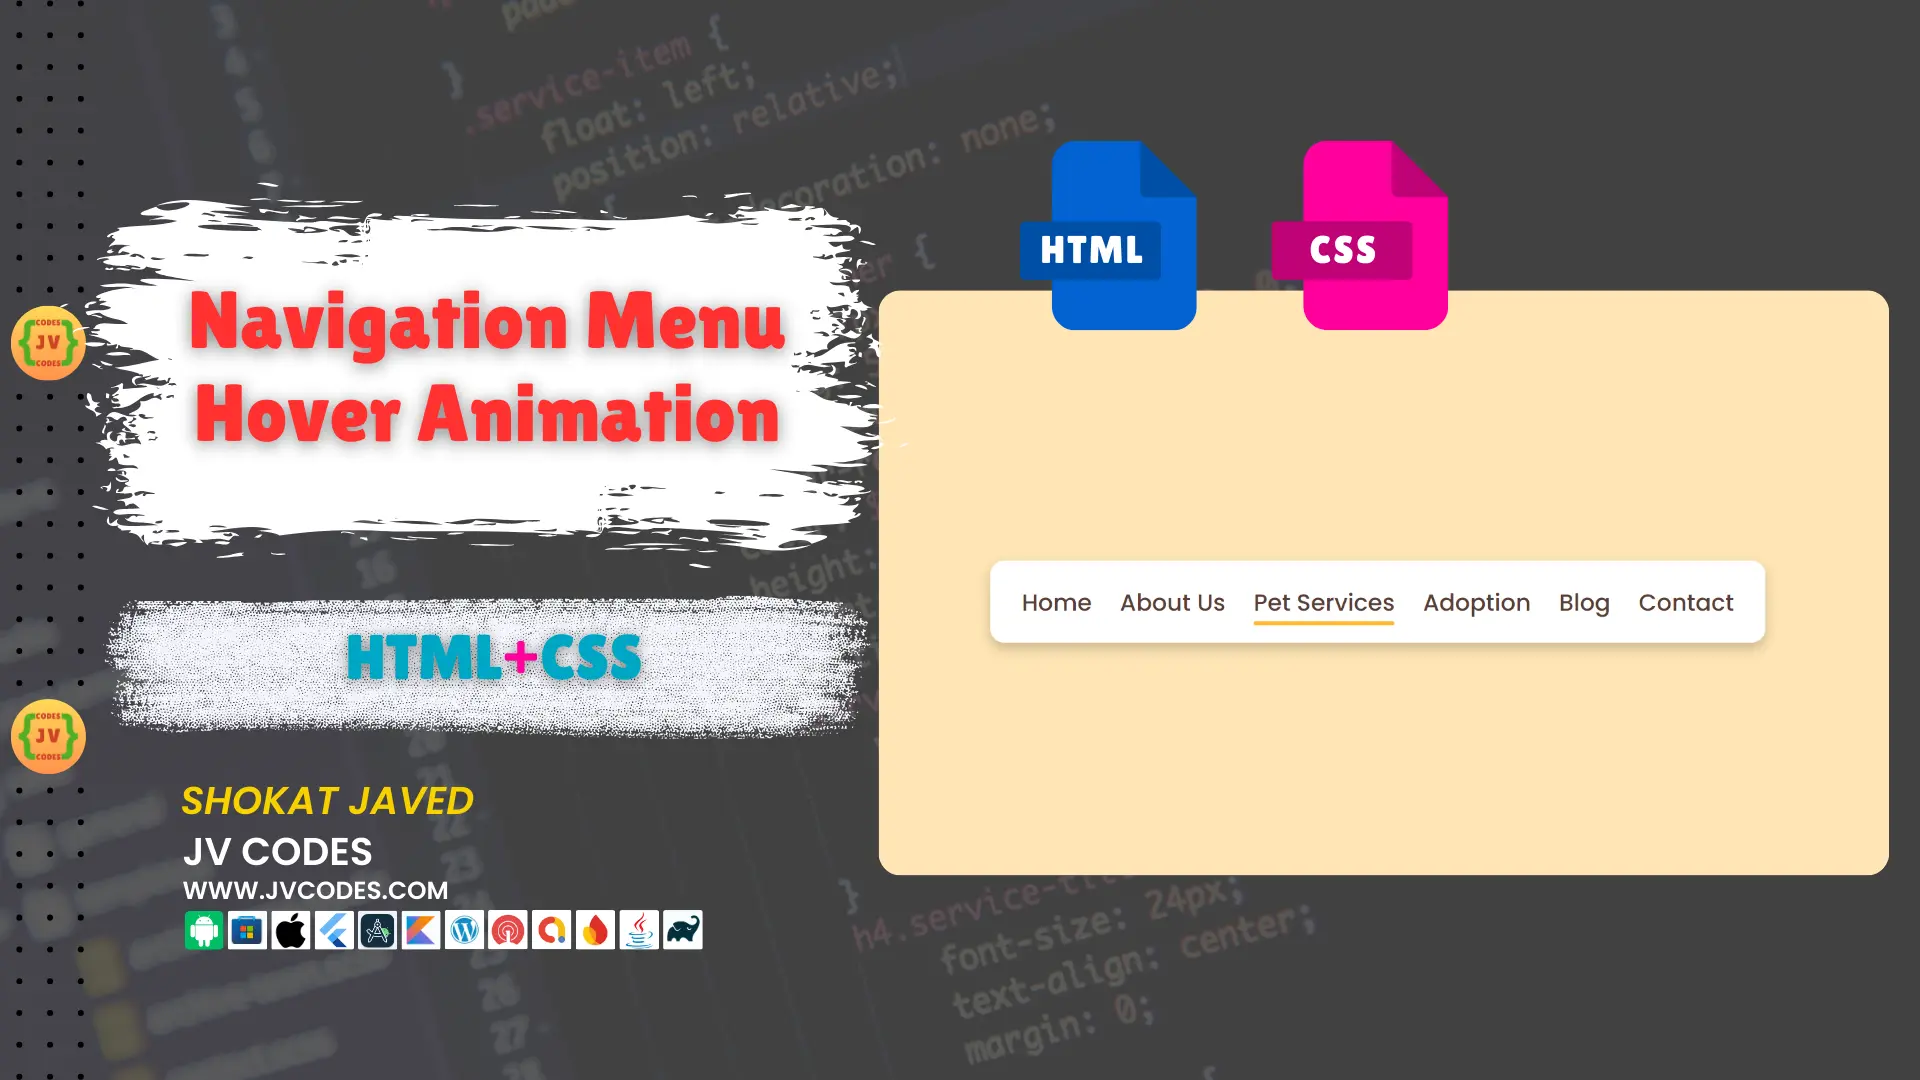
Navigation Menu Hover Animation in HTML and CSS
A navigation menu is one of the most important elements on any website. Navigation menus assist users in getting around various sections and pages that are in the website. Hover animations are another means through which you can enrich the user experience.
The Navigation Menu Hover Animation in HTML, CSS enhances the look of any website giving it a look of professionalism and interactivity.
Here in this article, let me explain each and every step to create this hover animation and also you can download the source code which is attached at the end of this article without any charges.
GitHub Source: Navigation Menu Hover Animation in HTML
Features
The source code for this navigation menu hover animation offers several benefits that make it a great addition to your website:
- Easy to Customize: It is not very difficult to change color schemes, fonts and even animations to reflect your site’s theme.
- Well Commented: All the codes used are well explained, thus when it comes to editing, anyone, including novices, can do so easily.
- Compatible with All Modern CMS: Whether it is WordPress, Joomla or any other CMS this animated menu seems to flow quite well.
- Clean Code: The code is written in a best practice and maintainable style, categorized into logical groups.
Technologies Used
- HTML (Hypertext Markup Language)
- CSS (Cascading Style Sheets)
Video Tutorial
Steps to Build Menu
It is easy to build this Navigation Menu Hover Animation. Follow the steps below to build it from scratch:
- Create Project Folder: First and foremost, let’s create the folder in your computer where you will be storing all the files relating to your project.
- Create index.html: Inside a folder, create a new file with the extension.html to write your HTML code by naming it index.html.
- Create style.css: And create another file named style.css where your CSS styling for the navigation menu should be placed.
- Copy & paste the Code: Before implementing the navigation hover animation you need to copy the following code into your index.html and style.css files as shown below.
HTML
Here is the HTML code for your index.html file:
<!DOCTYPE html>
<!-- Coding by JV Codes | www.jvcodes.com -->
<html lang="en" dir="ltr">
<head>
    <meta charset="UTF-8">
    <meta name="viewport" content="width=device-width, initial-scale=1.0">
    <meta name="description" content="Pets Care Website Navigation with Hover Animation">
    <title>Pets Care Navigation Menu | JV Codes</title>
    <link rel="stylesheet" href="style.css">
</head>
<body>

  <!-- Navigation Menu for Pets Care Website -->
  <nav>
    <ul class="nav-links">
      <li><a href="#">Home</a></li>
      <li class="center"><a href="#">About Us</a></li>
      <li class="upward"><a href="#">Pet Services</a></li>
      <li><a href="#">Adoption</a></li> <!-- New menu item -->
      <li><a href="#">Blog</a></li>      <!-- New menu item -->
      <li class="forward"><a href="#">Contact</a></li>
    </ul>
  </nav>

</body>
</html>
CSS
Here is the complete code for style.css file to style the menu:
/* Importing Google Font 'Poppins' for a modern and clean typography */
@import url('https://fonts.googleapis.com/css2?family=Poppins:wght@300;400;500;600;700&display=swap');

/* Universal Reset for consistent margin, padding, and box-sizing */
* {
  margin: 0;
  padding: 0;
  box-sizing: border-box;
  font-family: 'Poppins', sans-serif; /* Applying 'Poppins' font to the entire website */
}

/* Styling for the body to center the content vertically and horizontally */
body {
  height: 100vh; /* Set the height of the body to full viewport height */
  display: flex;
  align-items: center; /* Center content vertically */
  justify-content: center; /* Center content horizontally */
  background: #FFE5B4; /* Soft peach background for a warm and friendly pet care theme */
}

/* Styling for the navigation menu container */
.nav-links {
  display: flex; /* Using flexbox for a horizontal menu layout */
  align-items: center; /* Aligning the menu items vertically in the center */
  background: #fff; /* White background for the menu */
  padding: 20px 15px; /* Padding around the menu for spacing */
  border-radius: 12px; /* Soft rounded corners for a modern look */
  box-shadow: 0 5px 10px rgba(0, 0, 0, 0.2); /* Slight shadow for a 3D floating effect */
}

/* Styling for individual menu items (li) */
.nav-links li {
  list-style: none; /* Removing default list styles (bullets) */
  margin: 0 12px; /* Adding space between menu items */
}

/* Styling for the links inside the navigation menu */
.nav-links li a {
  position: relative; /* For positioning the hover effect */
  color: #5A3E36; /* Warm brown text color for a friendly, natural look */
  font-size: 20px; /* Font size for readability */
  font-weight: 500; /* Medium weight for a balanced look */
  padding: 6px 0; /* Padding for clickable area around the text */
  text-decoration: none; /* Removing the default underline from links */
}

/* Hover effect for menu links - underlining animation */
.nav-links li a:before {
  content: ''; /* Empty content for the underline effect */
  position: absolute; /* Positioning relative to the link */
  bottom: 0; /* Placing the line at the bottom of the link */
  left: 0; /* Starting from the left */
  height: 3px; /* Height of the underline */
  width: 0%; /* Initial width (invisible) */
  background: #FFB830; /* Warm yellow underline to match the friendly pet care vibe */
  border-radius: 12px; /* Rounded corners for the line */
  transition: all 0.4s ease; /* Smooth transition for the animation */
}

/* Hover state - animates the underline to grow across the link */
.nav-links li a:hover:before {
  width: 100%; /* Expands the line to cover the entire link */
}

/* Special animation for the 'center' link (About Us) */
.nav-links li.center a:before {
  left: 50%; /* Start from the center */
  transform: translateX(-50%); /* Adjust position to keep it centered */
}

/* Special animation for the 'upward' link (Pet Services) */
.nav-links li.upward a:before {
  width: 100%; /* Full width line */
  bottom: -5px; /* Positioned below the link */
  opacity: 0; /* Initially hidden */
}

/* Hover effect for the 'upward' link - makes the line visible and moves it up */
.nav-links li.upward a:hover:before {
  bottom: 0px; /* Moves the line to the bottom of the link */
  opacity: 1; /* Makes the line visible */
}

/* Special animation for the 'forward' link (Contact) */
.nav-links li.forward a:before {
  width: 100%; /* Full width line */
  transform: scaleX(0); /* Initially scaled to 0 (invisible) */
  transform-origin: right; /* Starting from the right */
  transition: transform 0.4s ease; /* Smooth scaling effect */
}

/* Hover effect for the 'forward' link - scales the line to full width */
.nav-links li.forward a:hover:before {
  transform: scaleX(1); /* Expands the line to full width */
  transform-origin: left; /* Expands from left to right */
}
Download Source Code
Please visit the download button below to find the full HTML and CSS of Navigation Menu Hover Animation. This is an opensource code with no one owning the copyright hence people can reuse it in their own projects.
Conclusion
This Navigation Menu Hover Animation in HTML, CSS will help improve the look of the navigation and transition it to a very streamlined feel on your website. Please remember to link back to JV Source Codes when using this code. If you have any problems, you can always leave a comment, and I will gladly assist.
Please do not forget to subscribe to my channel JV Source Codes for more helpful tutorials and freebie.





Wow, jvcodes, this tutorial is exactly what I needed! Your explanation of each hover animation, especially the ‘forward’ one, is super clear. I’ve been looking for ways to make my navigation more interactive, and this provides a perfect starting point. Quick question though: for the ‘upward’ animation, have you ever tried making it slightly bouncy on hover, or would that make it too complex?
Wow, this navigation menu animation is really sharp and professional. The tutorial is super clear, thanks!